Posted by Nottage Timber Merchants on 20th Mar 2024
All about Postcrete
As the season unfolds and you prepare to construct your new fence this spring, meticulous planning and precise post placement are essential. However, the key to preventing potential structural issues lies in a serious consideration: Postcrete.
But what is Postcrete we hear you ask?
Postcrete is a ready-to-use blend of selected sand, cement
and additives formulated for
fixing wooden, concrete and metal posts. Setting fence posts with a Ready Mixed Post Concrete really couldn't be easier, even if you have never
 worked with concrete before. We'll walk you through step by step of how to use Postcrete below along with how to measure the correct quantity you should be using (and what happens if you don't!)
A Step by Step Postcrete Guide:
- Dig hole to correct depth and width relevant to post size (Don't worry, we'll give you this info later)
- Fill hole with water to about a third of the depth.
- Pour in Postcrete evenly around post until no standing water is visible (powder completely covers water surface). Sprinkle water on top of powder.
- Position and level post as required. Setting will take place in 5 to 10 minutes.
- When set, cover top of hole with soil, grass or other finish as desired
It really is as easy as that! There are a few tips, tricks and "hacks" that you can use to make life even easier (or better) for you.
- Get scrap timbe
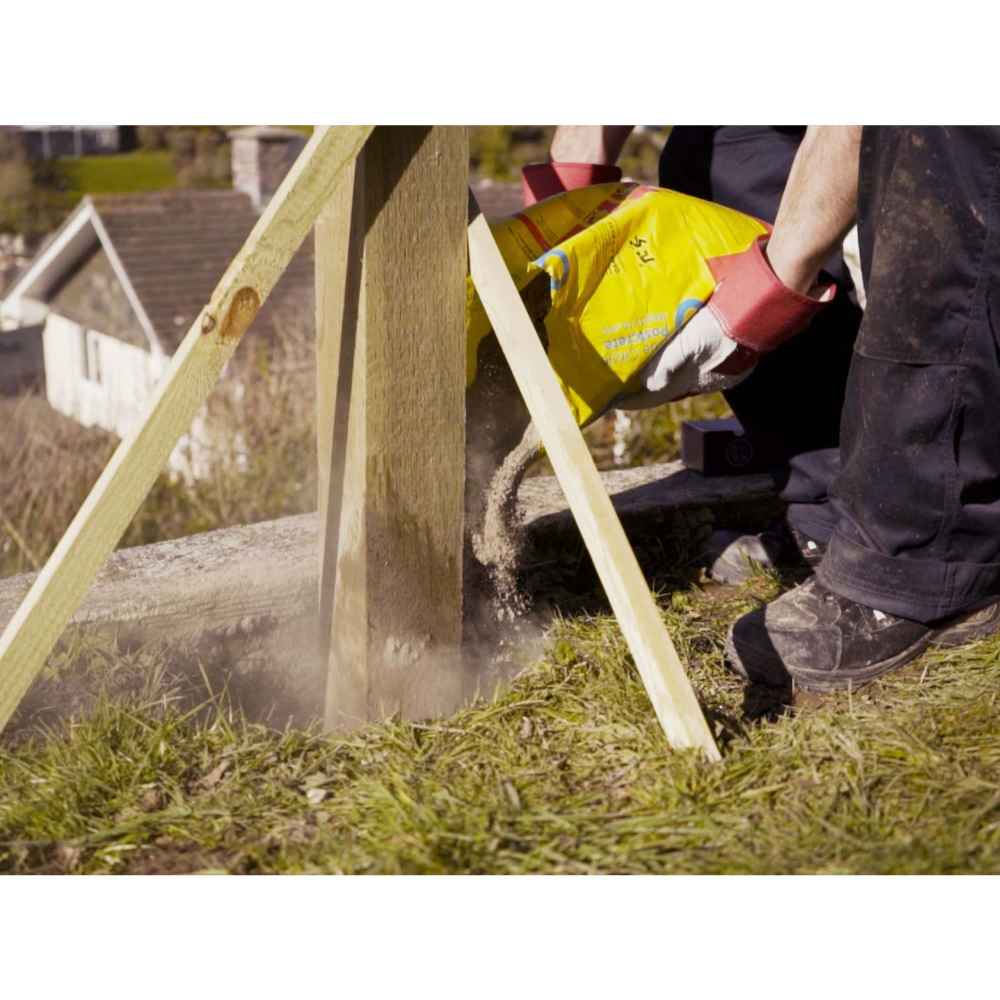
 r and make temporary braces for the fence posts. Like in the image above, these are used to hold the fence post level as you are pouring the Postcrete. Once the post is set, its a lot of work to level the post back out with a block of solid concrete attached.
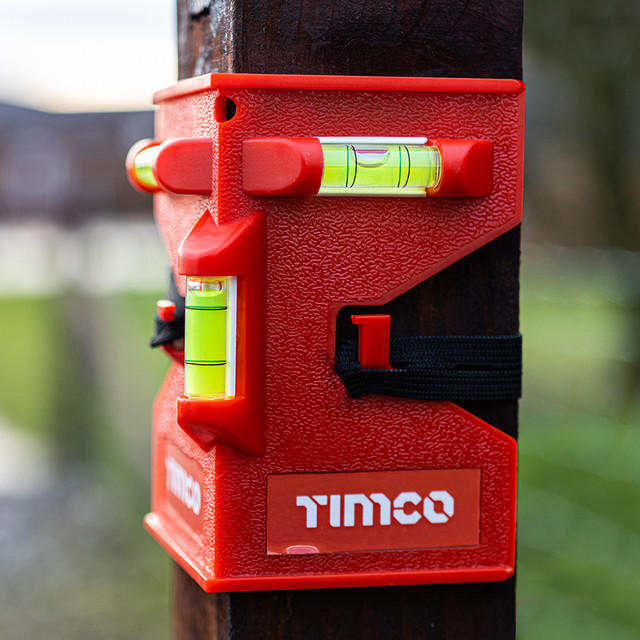
 - Get a helper. Providing they read a spirit level (or a Fence Post Level) then they can save you having a wonky fence that you will need to fix later.
- Wear PPE. Although you are pouring into water, and that will keep the dust down, there will be concrete dust heading your way. You do not want to be breathing this dust even in the great outdoors. Wear a mask, and protect your eyes. Pouring Postcrete takes about 30 seconds a bag, but doing a few bags per hole, for a few holes quickly adds up!
- Get a poking stick! Whether its an off cut of roofing batten, or a bent bit of rebar, get something it poke, mix and move the Postcrete in the hole. Whilst not always needed, one pour will need adjustment and you will wish you had a poking stick.
How big should I dig my fence post hole?
As a rough guideline, the table below shows how much Postcrete is required per hole size. The estimation is based on the volume of wet concrete mix rounded to make it easier to read and understand. It is based on the mathematical volume required, unless your digging your fence post hole with laser grade precision, then the final amount might vary. It is always worth over estimating how much you would need to ensure you can complete the job.
| Width | Depth | Strength Rating | No. of Postcrete bags |
| 150mm / 15cm / 6 Inches | 600mm / 60cm / 24 Inches | Very Light Duty | ½ Bag |
| 200mm / 20cm / 8 Inches |
600mm / 60cm / 24 Inches |
Light Duty |
1 Bag |
| 250mm / 25cm / 10 Inches |
600mm / 60cm / 24 Inches |
Medium Duty | 2 Bags |
|
300mm / 30cm / 12 Inches |
600mm / 60cm / 24 Inches |
Heavy Duty | 3 Bags |
What is Light, Medium and Heavy Duty?
This is just our estimate and/or recommendation (and the manufacturers).
- Very Light Duty would be a bad idea for any full size fence in the South Wales area. Reserve this for small garden features, picket fencing or trellis style panels.
- Light duty would refer to a sheltered area with little wind-load and a light weight panel or cladding. If your garden or area is fairly sheltered from the weather (for the most part), then this would be suitable.
- Medium Duty would be a fence that is exposed to the wind, but not coastal or heavy winds frequently. Think end of terrace, or even a sheltered detached property. You might get the odd "Storm Geoffrey" rolling through, but for the most part its not too bad. Medium duty would suit heavier claddings and premium heavy weight panels in the semi-sheltered area.
- Heavy Duty would be on the beach fronts or hilly exposed areas. If you risk losing your underwear from the washing line on a weekly basis, then you would need to be looking at closer to heavy duty than anything else.
Are these recommended post hole sizes?
On average, these are the sizes we would recommend for a generic property if someone wanted a ballpark figure. Aim to use the right amount of bags, rather than focusing on the size of the hole. The Postcrete will bind to the timber fence post and act as both a counter weight and anchor. For very rocky ground, then you might find you cannot make a perfect 10 inch x 24 inch hole, maybe an 8 inch x 36 inch hole would suit you better.
If you want to get really in depth (digging pun) with Postcrete and post hole sizes, each bag contains around 20 litres of concrete volume. Use a cylinder calcuator online to find the volume of your holes and see how many bags you might need. Pi x Radius Squared x Height = Volume of Hole. Again this would be based on laser precision digging but its worth having a better than ball park figure.
If you have any more questions related to Postcrete, please speak to our sales team on 01656 745959 and they will be happy to answer any additional questions you may have.

